Quickstart
By the end of this page, you will have made a traced LLM call. The call renders a prompt you wrote and goes through a provider you choose. It takes about ten minutes.
1. Create your account
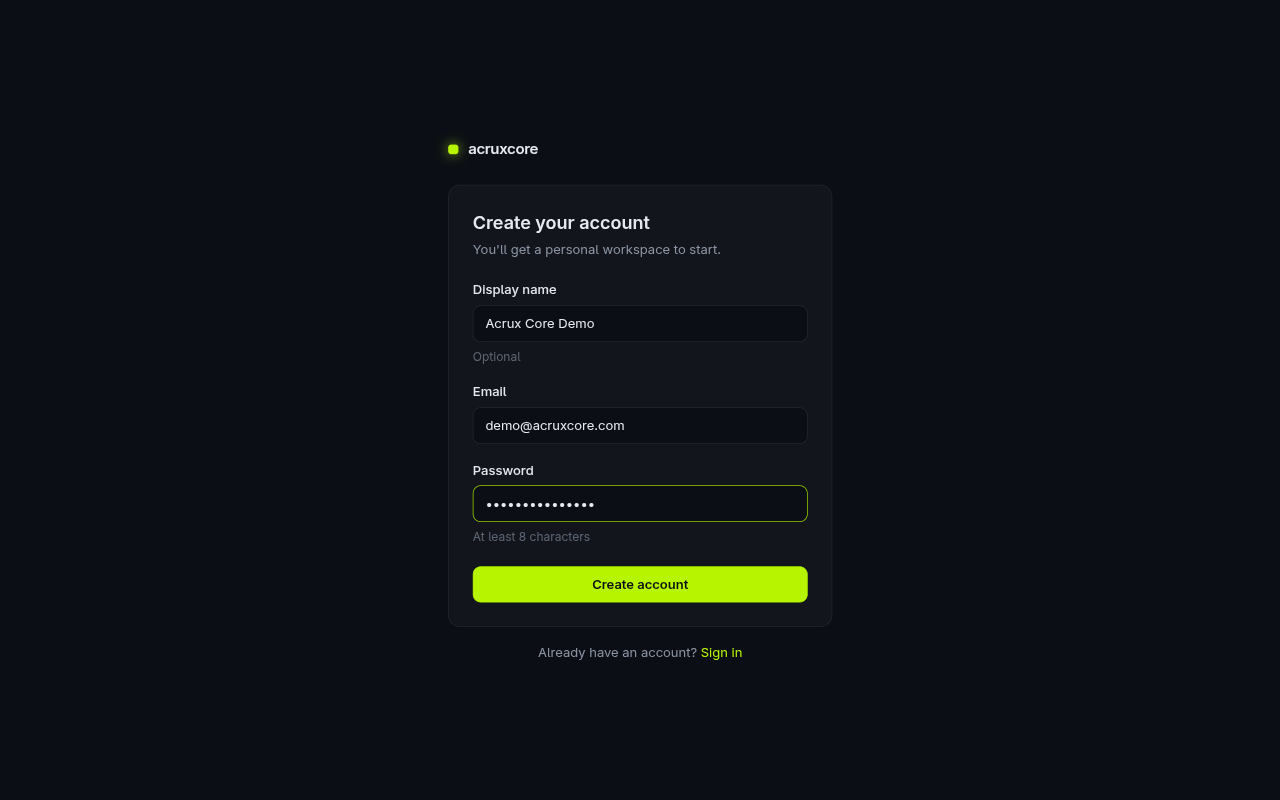
Open the web app and sign up. Sign-up creates your personal team at once. A team is your workspace. You do not need a separate "create team" step.
2. Create an API key
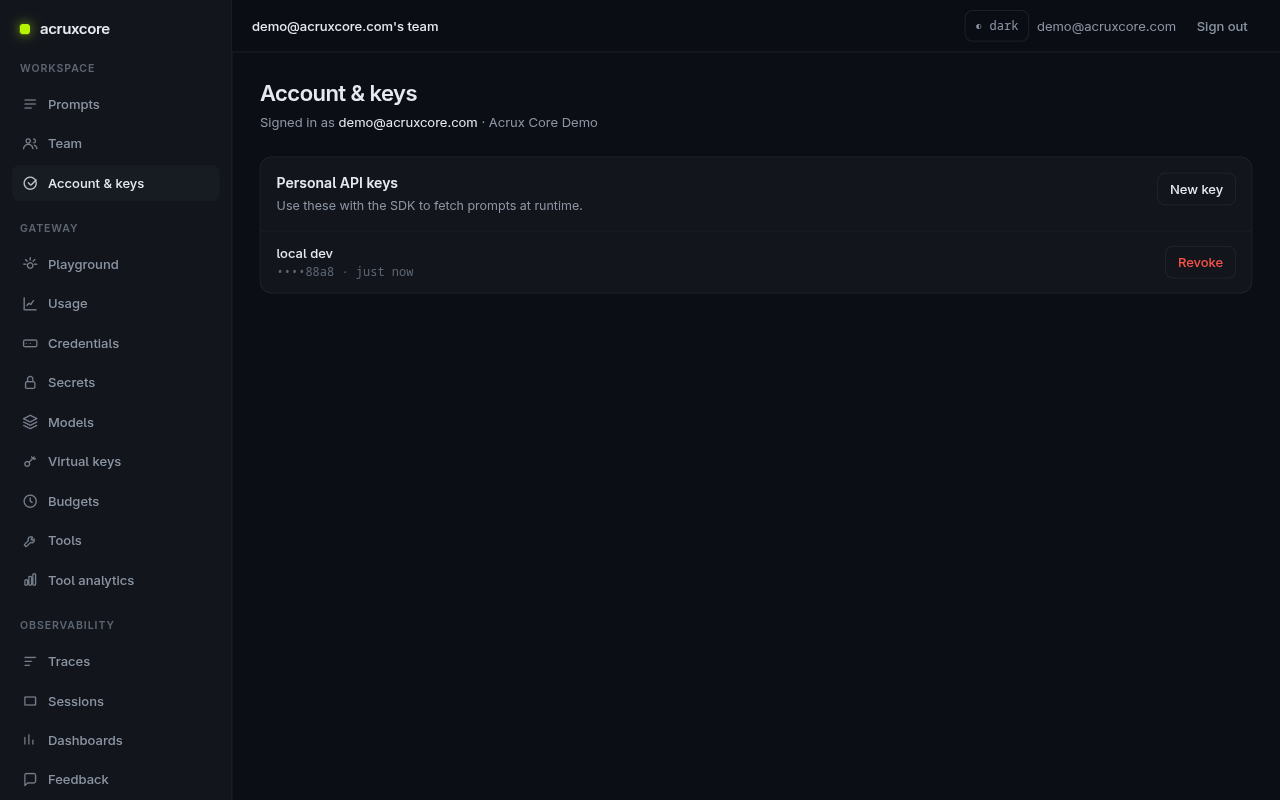
Go to Account & keys and click New key. Copy the key now, because the app
shows it only once. The SDK and your curl calls authenticate with this key.
Set two environment variables you'll reuse everywhere:
export ACRUXCORE_API_KEY="<paste your key>"
# Hosted: https://api.acruxcore.com/api/v1 · Local dev: http://localhost:3001/api/v1
export ACRUXCORE_BASE_URL="https://api.acruxcore.com/api/v1"
3. Register a model
The gateway needs one credential and one model. The credential holds a provider key, and the model is a public name that points at the credential. In the web app:
- Gateway → Credentials → New credential. Pick your provider. This guide
uses OpenAI-compatible with the base URL
https://openrouter.ai/api/v1and an OpenRouter key. Paste the key. AcruxCore encrypts the key at rest and never shows it again. - Gateway → Models → New model. Set Public name to
support-model, pick the credential, and set Upstream model toopenai/gpt-4o-mini.
Your app now sends model: "support-model". You can change the upstream model id later
without breaking your app. The gateway guide
covers credentials and models in detail.
4. Author a prompt
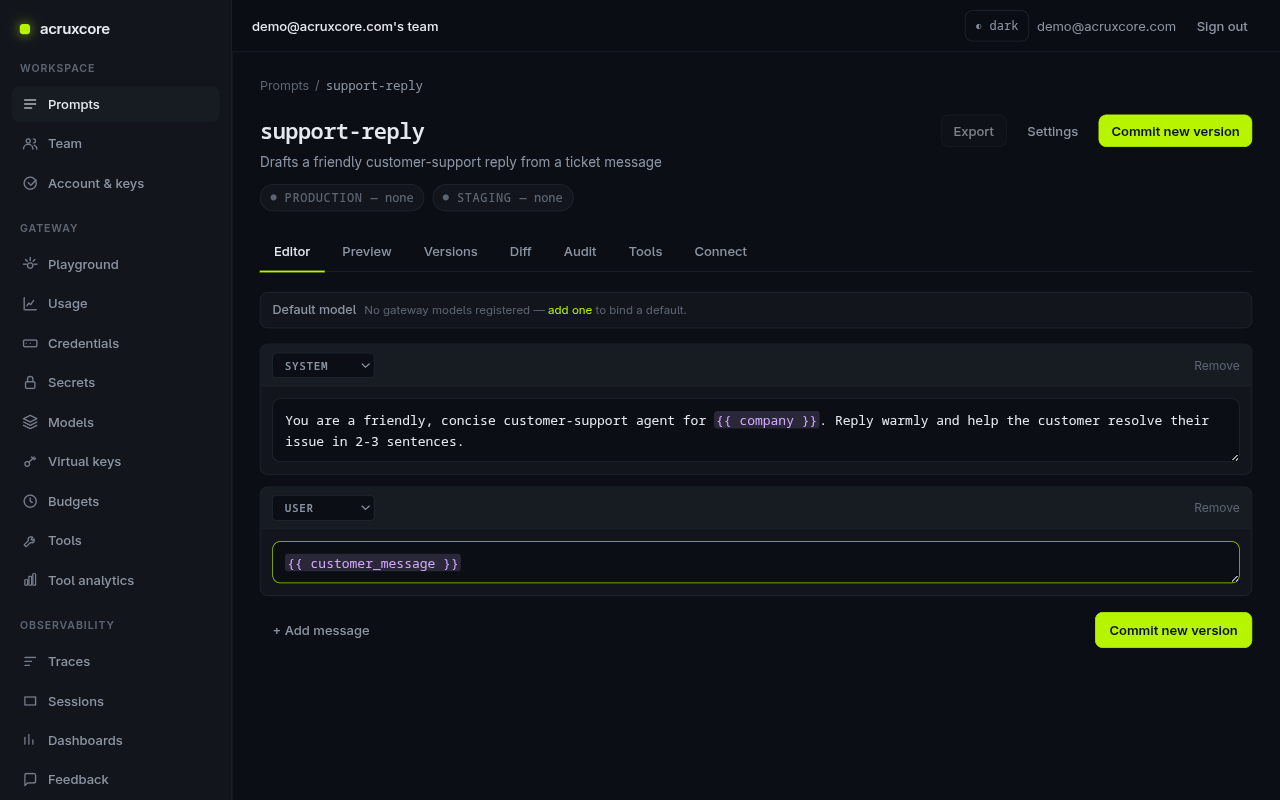
Prompts → New prompt. Name it support-reply. Add a system message and a
user message, using {{ variables }} where the input goes:
See the raw prompt template
system: You are a friendly, concise customer-support agent for {{ company }}.
        Reply warmly and help the customer resolve their issue in 2-3 sentences.
user:   {{ customer_message }}
Click Commit new version. The first commit also creates two aliases, production
and staging, that point at v1. (See Version a prompt
for the full lifecycle.)
5. Make your first call
Now send the prompt you wrote to support-model through the gateway, with real
values filled in. With curl and with the SDKs, the gateway routes the call, prices it,
and records a trace. With curl, you name the prompt and the gateway renders it on the
server, so one request renders the prompt and completes the call. The SDKs render the
prompt in a separate request first, so your code can read or extend the messages before the SDK sends them.
- curl
- Node (SDK)
- Python (SDK)
curl -X POST "$ACRUXCORE_BASE_URL/gateway/chat/completions" \
  -H "Authorization: Bearer $ACRUXCORE_API_KEY" \
  -H "Content-Type: application/json" \
  -d '{
    "model": "support-model",
    "prompt": {
      "name": "support-reply",
      "alias": "production",
      "variables": {
        "company": "Acme",
        "customer_message": "My order #123 has not arrived yet."
      }
    }
  }'
npm install @acruxcoreai/sdk
import AcruxCore from '@acruxcoreai/sdk';

// Reads ACRUXCORE_API_KEY and ACRUXCORE_BASE_URL from the environment.
const hub = new AcruxCore();

// Render the stored prompt to messages, then complete it.
const { messages } = await hub.prompts.render('support-reply', 'production', {
  company: 'Acme',
  customer_message: 'My order #123 has not arrived yet.',
});

const { content } = await hub.gateway.chat({ model: 'support-model', messages });

console.log(content);
pip install acruxcore
import asyncio
from acruxcore import AcruxCore

async def main():
    # Reads ACRUXCORE_API_KEY and ACRUXCORE_BASE_URL from the environment.
    async with AcruxCore() as hub:
        # Render the stored prompt to messages, then complete it.
        rendered = await hub.prompts.render("support-reply", "production", {
            "company": "Acme",
            "customer_message": "My order #123 has not arrived yet.",
        })

        reply = await hub.gateway.chat("support-model", rendered.messages)
        print(reply.content)

asyncio.run(main())
The Python SDK is async throughout, so AcruxCore is an async context manager.
Create one instance at startup and reuse it.
The response has the OpenAI format, so code that already calls OpenAI can call this
endpoint. The official openai client also works when you point it at
ACRUXCORE_BASE_URL + "/gateway", as the
gateway guide shows.
The SDKs return the same payload, plus the reply text in a content field.
{
  "id": "gen-...",
  "model": "openai/gpt-4o-mini",
  "object": "chat.completion",
  "choices": [
    { "index": 0, "message": { "role": "assistant", "content": "I'm sorry to hear that your order hasn't arrived yet! ..." }, "finish_reason": "stop" }
  ],
  "usage": { "prompt_tokens": 57, "completion_tokens": 32, "total_tokens": 89 }
}
Both SDKs cache a render for 60 seconds. The cache key is the prompt name, the alias,
and the variables you passed. So when the variables
change, the SDK renders the prompt again. Only a repeat with identical variables is served from the cache. To change
how long a render stays cached, set cacheTtl / cache_ttl in milliseconds. Pass 0
to turn caching off. The curl path renders server-side and has no client cache.
6. See it in Traces
Open Observability → Traces. Your call is at the top. Click the call to see the model, token counts, latency, and status.
More of the SDK
Rendering a prompt and completing it are the two calls most apps need first. The Node SDK
is @acruxcoreai/sdk, and the
Python SDK is acruxcore. Both SDKs cover the
rest of the platform. The method names match, in camelCase for Node (runToolLoop)
and in snake_case for Python (run_tool_loop):
- Streaming — call
hub.gateway.stream(), the same name in both SDKs, and iterate the response token by token instead of awaiting it whole. - Tool-calling loop — declare a tool with
acrux.tooland pass it tohub.gateway.runToolLoop/hub.gateway.run_tool_loop. The loop syncs the tool into the catalog, calls the model, runs your function, and repeats until the model stops asking for a tool. A catalog tool can instead use thehttpexecutor, which calls a URL. Such a tool runs on the platform, with no local code. Whichever executor the tool uses, the whole run is one trace. See Create a tool. - Read traces back — from your app,
hub.traces.get()returns a trace's full span tree andhub.traces.list()returns a filtered list of traces. - Feedback —
hub.traces.submitFeedback()/submit_feedback()andupdateFeedback()/update_feedback()attach a rating, label, or comment to a trace or a single span.
Chat, stream, and collect feedback with the SDK works through every call above, step by step.
Where to next
- Product tour — attach a tool, stream a response, read the trace, leave feedback, and turn that feedback into an evaluation.
- Tutorials — twelve tutorials that each build an agent, from no-code to multi-agent
- Create a tool — give the model a function of yours to call
- Chat, stream, and collect feedback with the SDK
- Version a prompt and ship it to production
- Route your app's calls through the gateway
- Trace and inspect an LLM call
- Core concepts for the full mental model